本文主要介绍openwrt打包成lxc模板,并启动。
1、LXC是什么
LXC介绍
Linux Container容器是一种内核虚拟化技术,可以提供轻量级的虚拟化,以便隔离进程和资源。
2、openwrt介绍
openwrt介绍
OpenWrt是适合于嵌入式设备的一个Linux发行版。
相对原厂固件而言,OpenWrt不是一个单一、静态的固件,而是提供了一个可添加软件包的可写的文件系统。这使用户可以自由的选择应用程序和配置,而不必受设备提供商的限制,并且可以使用一些适合某方面应用的软件包来定制你的设备。对于开发者来说,OpenWrt是一个框架,开发者不必麻烦地构建整个固件就能得到想要的应用程序;对于用户来说,这意味着完全定制的能力,与以往不同的方式使用设备,OPKG包含超过3500个软件。 默认使用LuCI作为web交互界面。
3、LXC安装
安装非常简单,apt即可。
apt-get  install bridge-utils
apt-get install lxc
lxc-checkconfig
apt-get install apparmor-profiles
4、配置
- 首先桥接网卡
在/etc/network/interfaces文件中添加br0网桥
# /etc/network/interfaces
auto br0
iface br0 inet static
      address ipv4地址
      netmask ipv4子网掩码
      bridge_ports 桥接网卡名
      bridge_stp off
      bridge_fd 2
      bridge_maxwait 20
iface br0 inet6 static
    address ipv6地址/120
    gateway ipv6网关
dns-nameservers ipv6dns- 配置lxc默认文件
在/etc/lxc/default.conf中添加如下内容
#/etc/lxc/default.conf
lxc.apparmor.profile = generated
lxc.apparmor.allow_nesting = 1
lxc.net.0.type=veth
lxc.net.0.link = br0
lxc.net.0.flags = up
lxc.net.0.hwaddr = 00:11:22:xx:xx:xx
5、使用
- 创建镜像模板
lxc-create -t download -n openwrt -- --no-validate --server mirrors.tuna.tsinghua.edu.cn/lxc-images- 启动容器
lxc-start -n ubuntu1 -d- 停止容器
lxc-stop --name ubuntu1- 销毁容器
lxc-destroy --name ubuntu16、openwrt镜像制作
- 首先下载你心仪的openwrt系统
- 在linux下解压,使用如下命令
gzip -d openwrt-x86-64-generic-squashfs-rootfs.img.gz解压之后出现openwrt-x86-64-generic-squashfs-rootfs.img文件
- 安装squashfs-tools
apt install squashfs-tools- 解包
会解压到squashfs-root目录进入 cd squashfs-root
unsquashfs openwrt-x86-64-generic-squashfs-rootfs.img
mv squashfs-root rootfs
解包后如图所示:
这样lxc的rootfs就制作好了
- 制作openwrt模板
1、在/var/lib/lxc新建openwrt目录,
mkdir /var/lib/lxc/openwrt
touch /var/lib/lxc/openwrt/config
2、把以下内容写入到config中
# Template used to create this container: /usr/share/lxc/templates/lxc-download
# Parameters passed to the template: --server mirrors.tuna.tsinghua.edu.cn/lxc-images
# Template script checksum (SHA-1): 273c51343604eb85f7e294c8da0a5eb769d648f3
# For additional config options, please look at lxc.container.conf(5)

# Uncomment the following line to support nesting containers:
#lxc.include = /usr/share/lxc/config/nesting.conf
# (Be aware this has security implications)


# Distribution configuration
lxc.include = /usr/share/lxc/config/common.conf
lxc.arch = x86_64

# Container specific configuration
lxc.apparmor.profile = generated
lxc.apparmor.allow_nesting = 1
lxc.rootfs.path = dir:/var/lib/lxc/openwrt/rootfs
lxc.uts.name = openwrt

# Network configuration
lxc.net.0.type=veth
lxc.net.0.link = br0
lxc.net.0.flags = up
lxc.net.0.hwaddr = 00:16:3e:35:10:cd
接下来可以启动openwrt
- 启动openwrt
lxc-start -n openwrt -d- 配置openwrt系统
使用lxc-attach进入openwrt系统
vim /etc/config/network按照以下内容更改即可,这里做一个范例:
config interface 'loopback'
    option ifname 'lo'
    option proto 'static'
    option ipaddr '127.0.0.1'
    option netmask '255.0.0.0'

config globals 'globals'
    option ula_prefix 'fd8c:255f:3d91::/48'
    option packet_steering '1'

config interface 'lan'
    option ifname 'eth0'
    option proto 'static'
    option ipaddr 'ipv4地址'
    option netmask 'ipv4掩码'
    option gateway 'ipv4网关'
    option dns 'DNS'

config interface 'lan6'
    option proto 'static'
    option ifname '@lan'
    option ip6addr 'ipv6地址/120'
    option ip6gw 'ipv6网关'
option delegate '0'【注】其他的配置参数,可以参考openwrt ipv6配置
- 报错以及解决
有可能openwrt系统stop之后会出现以下错误
lxc-start: mylxc: conf.c: lxc_setup_ttydir_console: 1831 Read-only file system - Failed to set mode "0110" to "/dev/pts/3"解决方法:
mount -o remount,rw /dev/pts- lxc常用使用命令
6.1 lxc开机启动命令
### 修改容器配置文件,添加如下内容
### lxc.start.auto = 1
### lxc.start.delay = 15
### lxc.group = onboot
### 第一项表示开启自启动,第二项表示启动延迟,第三项表示自启动顺序
# vim /var/lib/var/lib/lxc/<container-name>/config
### 自启动onboot组的容器
# lxc-autostart -g onboot
6.2 lxc开启tun设备
在/var/lib/lxc/你的容器下/目录下创建如下脚本:
#!/bin/bash
cd ${LXC_ROOTFS_MOUNT}/dev
mkdir net
mknod net/tun c 10 200
chmod 0666 net/tun
赋予可执行权限
chmod +x autodev最后,在容量的config文件最后,添加以下内容:
lxc.hook.autodev=/var/lib/lxc/yourcontainer/autodev

# /dev/net/tun
lxc.cgroup.devices.allow = c 10:200 rwm
重启动容器后,出现/dev/net/tun设备文件,需要tun设备的程序就可以执行了。
最后放一张截图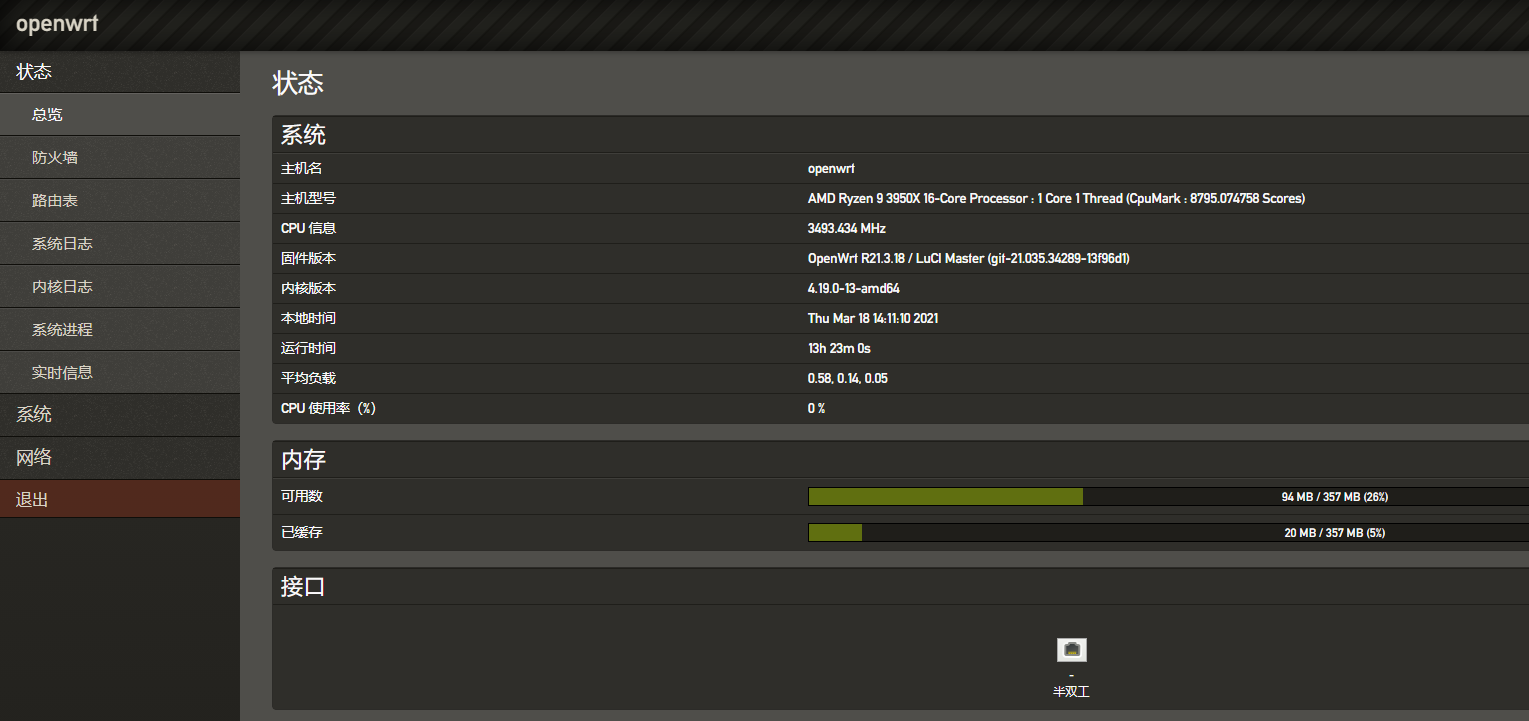


这经过检验吗?
创建的config没看到在哪里用到啊,白创建了??
有没有办法制作一个群晖的呢?
旁路由可以直接使用
文章将的很好,胖路由可以直接使用
文章将的很好